Getting your Artwork 'Ready to Hang': Tips and Tricks
Referencing "How to Hang a Picture with Wire" from The Spruce, make your best home.
Photograph Credit: Meg MacDonald.
Photograph Credit: Meg MacDonald.
|
|
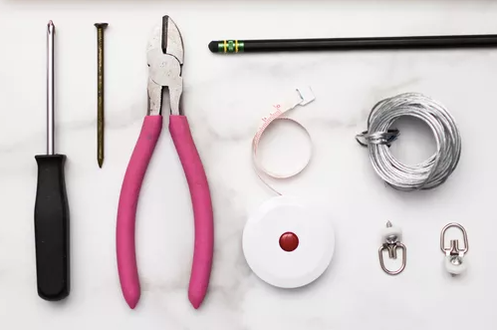
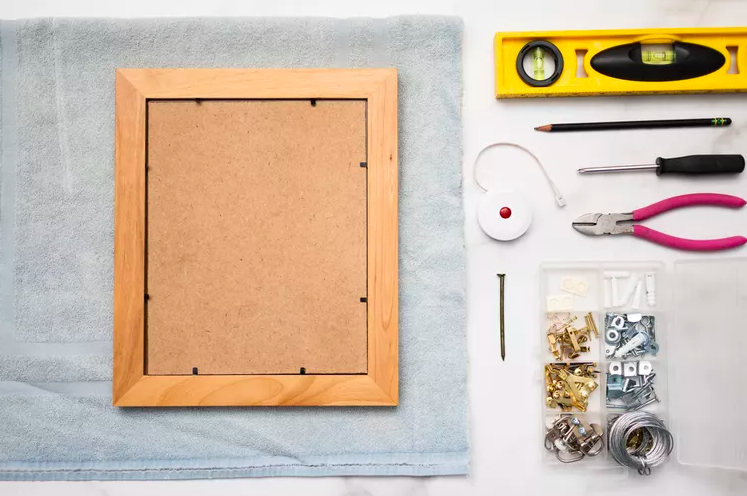
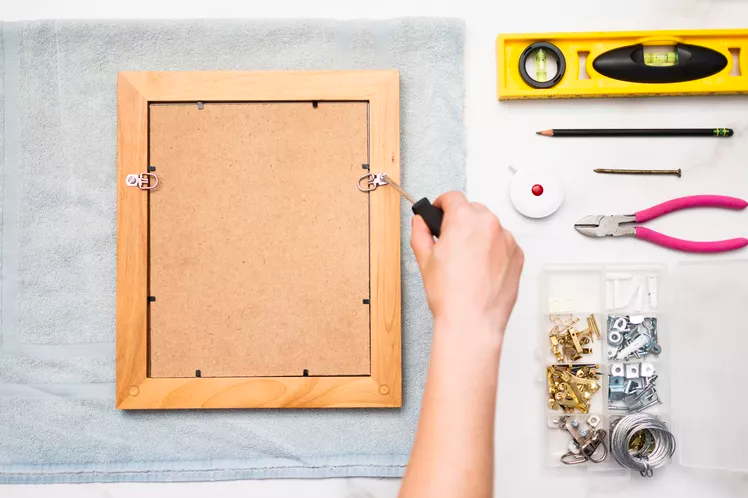
1. PreparationOn a table, lay the framed picture face-down on a soft cloth or towel. Position the picture so that the eventual top of the picture is facing away from you and the bottom of the picture is closest to your body.
With a pencil, mark with a small arrow which way is up. |
|
|
|
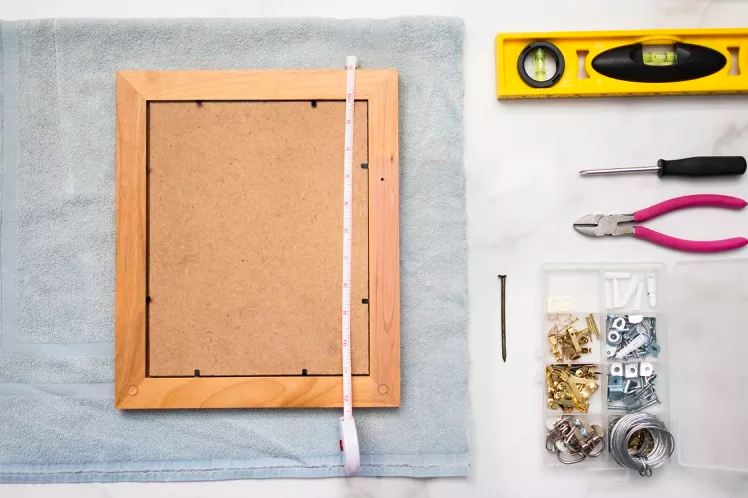
3. Marking D-Ring Attachment Points Use the resulting measurement to measure downward from the top of the picture frame on the left rail of the frame. Make a mark at the point. Repeat on the right rail of the frame.
For example: The picture frame is 15 inches tall. One-third of 15 inches is five inches. Measure five inches downward from the top and make a mark on the left rail. Repeat for the right side. |

|
|
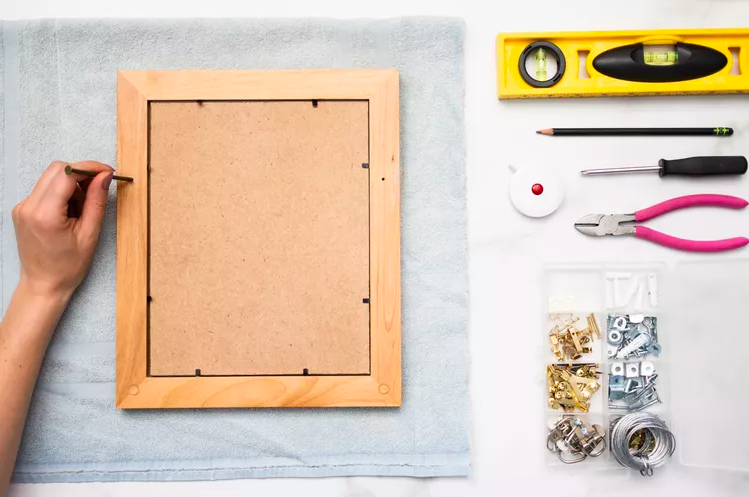
4. Create Pilot Holes on FrameUse a nail, awl, or any other pointed tool to create a shallow pilot hole on each of the marks. Press hard on the tool, then rotate or twist the tool a couple of times to make the hole deeper.
|
5. Install D-Rings on FramePlace one of the D-rings on the left rail of the picture frame. Position the ring so that the flat side of the ring's attachment base is facing downward. Also rotate the D-ring so that it is facing sideways; the ring part should look just like the letter D. Screw the ring into place with a hand screwdriver.
Repeat on the right side rail. All procedures are the same, except the ring will look like a backward letter D. |
|
|
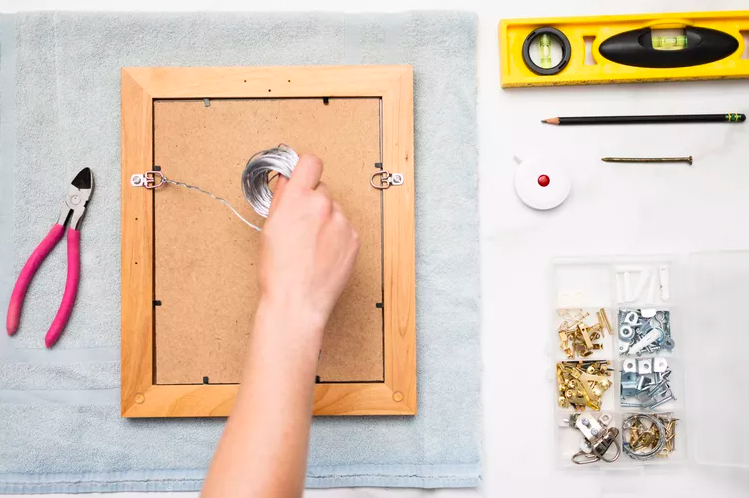
6. Attach Left Side of WireSlide the end of the picture hanging wire through the left D-ring far enough so that there is three to four inches of excess. Securely knot the end of the wire on the D-ring. Twist another inch of excess wire up the rest of the wire. Cut off excess.
TIP: See below for knotting the wire, you must knot AND twist the wire for stability. |
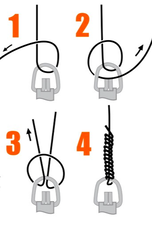
7. Tying Wire
Reference: Picture Hang Solutions. |
|
|
For more hanging tips and tricks here are some great resources:
|
Ways to end up on our 'naughty' list...
(Not really, don't worry!)
But we want to make sure that your work is secure, presentable and that we meet our deadlines hanging works for the exhibition. Ensuring that you have the proper hanging guidelines met of the gallery you're showcasing work will level up your professional game.
(Just be warned that bringing your work ready-to-hang might make the installation team fall in love with you! <3 )
You put a lot of time and effort into your work, don't let flimsy hanging material stand in the way!

|
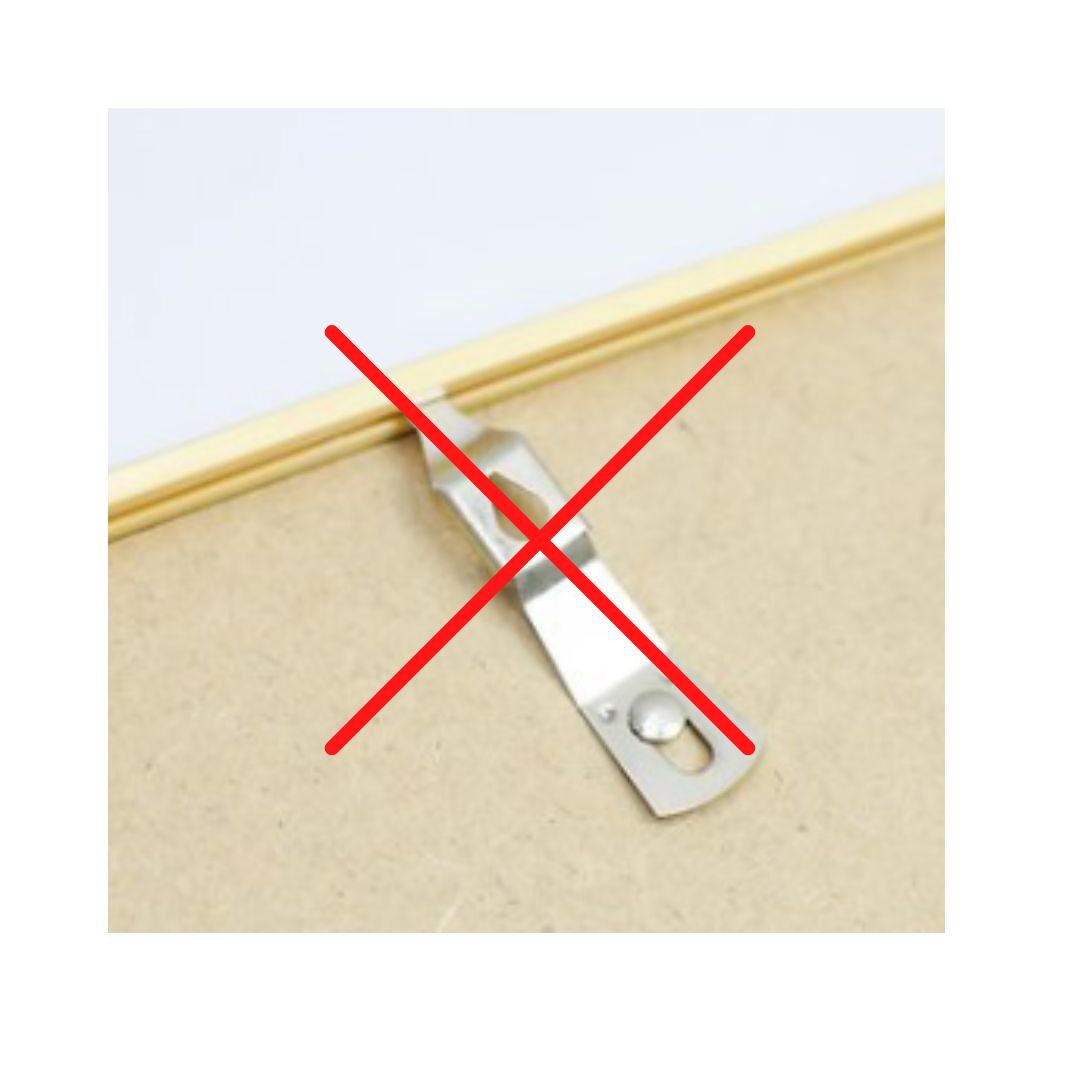
Saw-tooth Hangers do not accommodate our hanging methods for group shows. And the pins holding them in place are often flimsy.
|
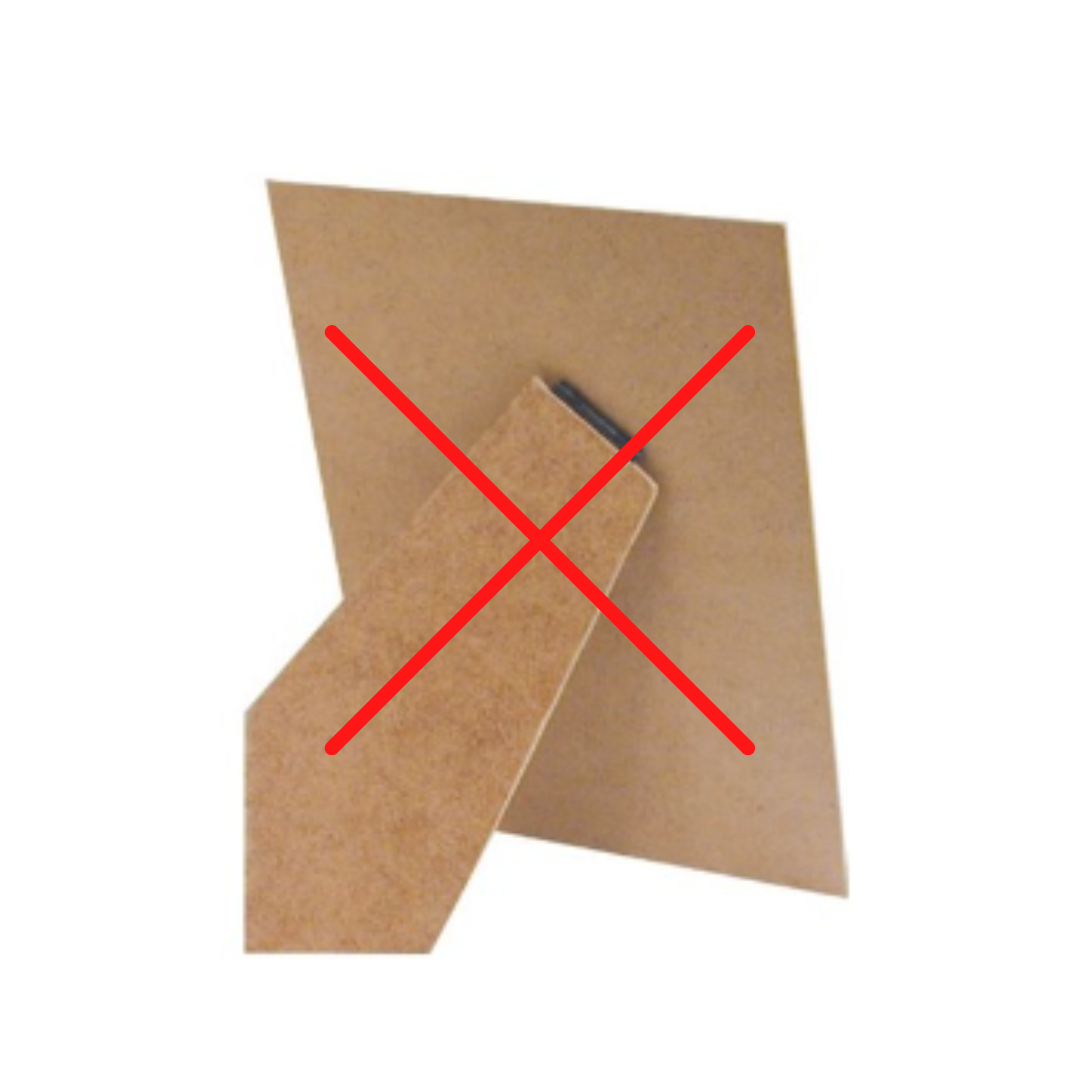
Please remove back leg of the frame so that your work will lay flat on the wall.
|
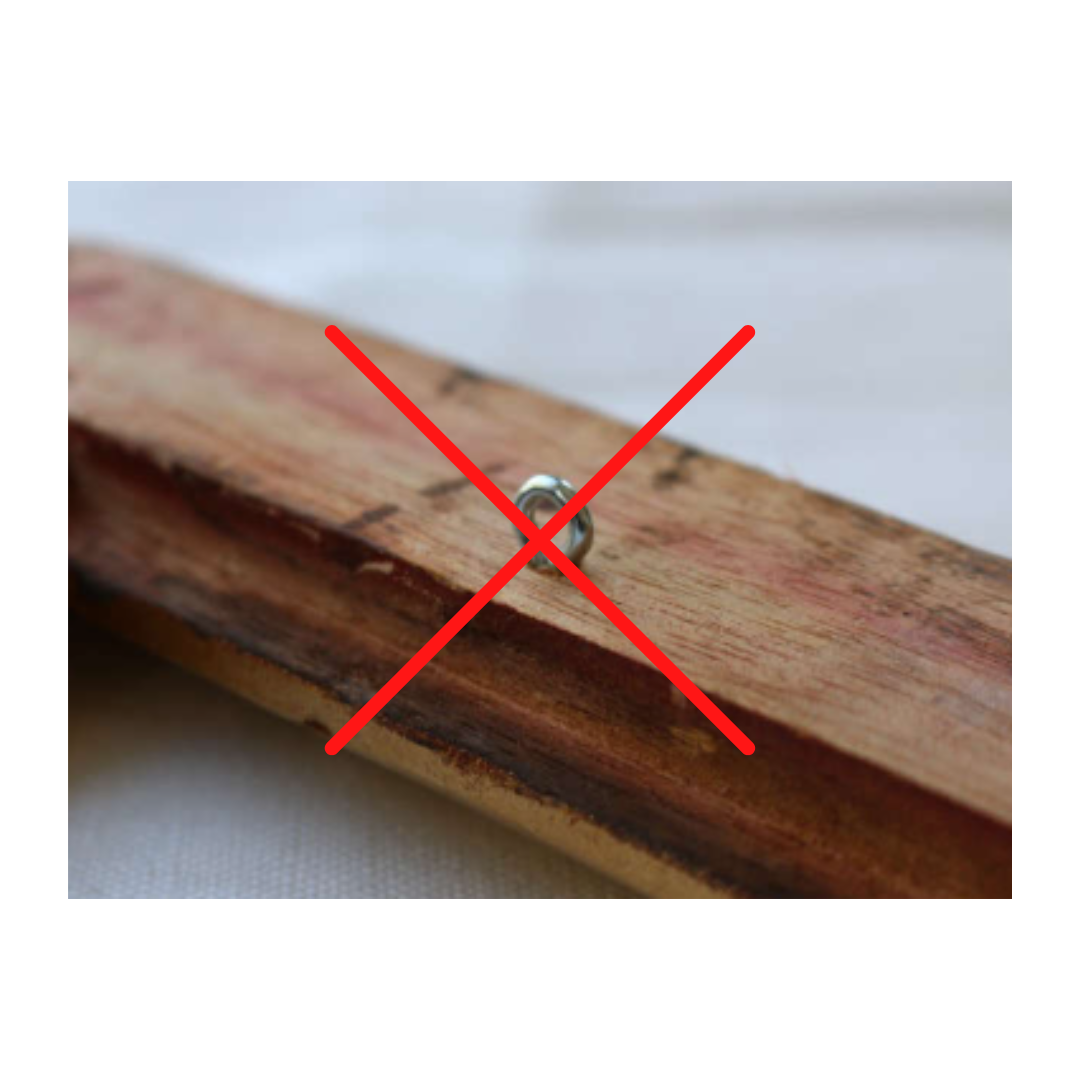
Loops or rings that protrude from the back of the frame will mark up the walls as well as prevent your work from laying flat.
|

|
A single loop is hard to centralize and will be visible from the front. A single fixed triangle on a frame often is too small for our hanging methods.
|
The standard fitting on a clip frame are hard to centralize and do not accommodate our hanging methods.
*Add a conversion set from OPUS for $3! |
Wire and D-rings are the best hardware for hanging a picture because they're not only strong, they're easy to install and adjust.
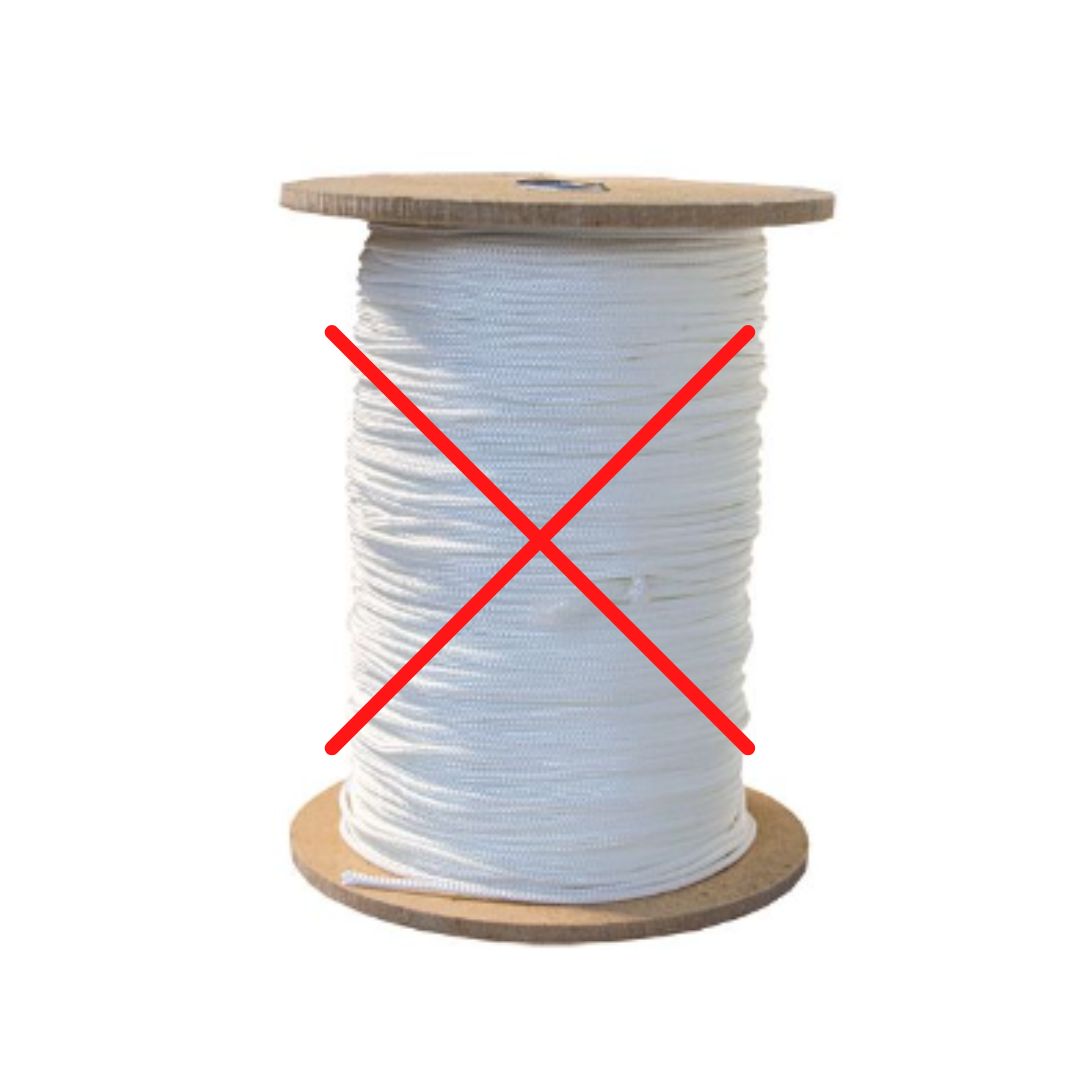
Choosing the right kind of wire depends on how heavy your work is. Your local Home Depot will have several options. |